How I customized the theme of this blog
Despite my initial reluctance to work with a customized theme, at the end I had to surrender and adopt one, mainly to enable rendering of the \(\LaTeX\) code.
Recall this blog is written in markdown and uses Jekyll as content generator to translate markdown into HTML. To this end, Jekyll uses kramdown processor. With surprise, I discovered that kramdown does not ship with the MathJax library. The good news is that MathJax itself explains how to integrate the code in a custom website-at which point I came to conclusion that modifying a theme to add some personal customizations is unavoidable; and this post will explain how to cook it in few minutes.
Note that often you will need to switch between two repositories (blog and theme). Accordingly, remember to switch from blog project folder to theme project folder, and vice-versa.
Create a copy of your personalized theme
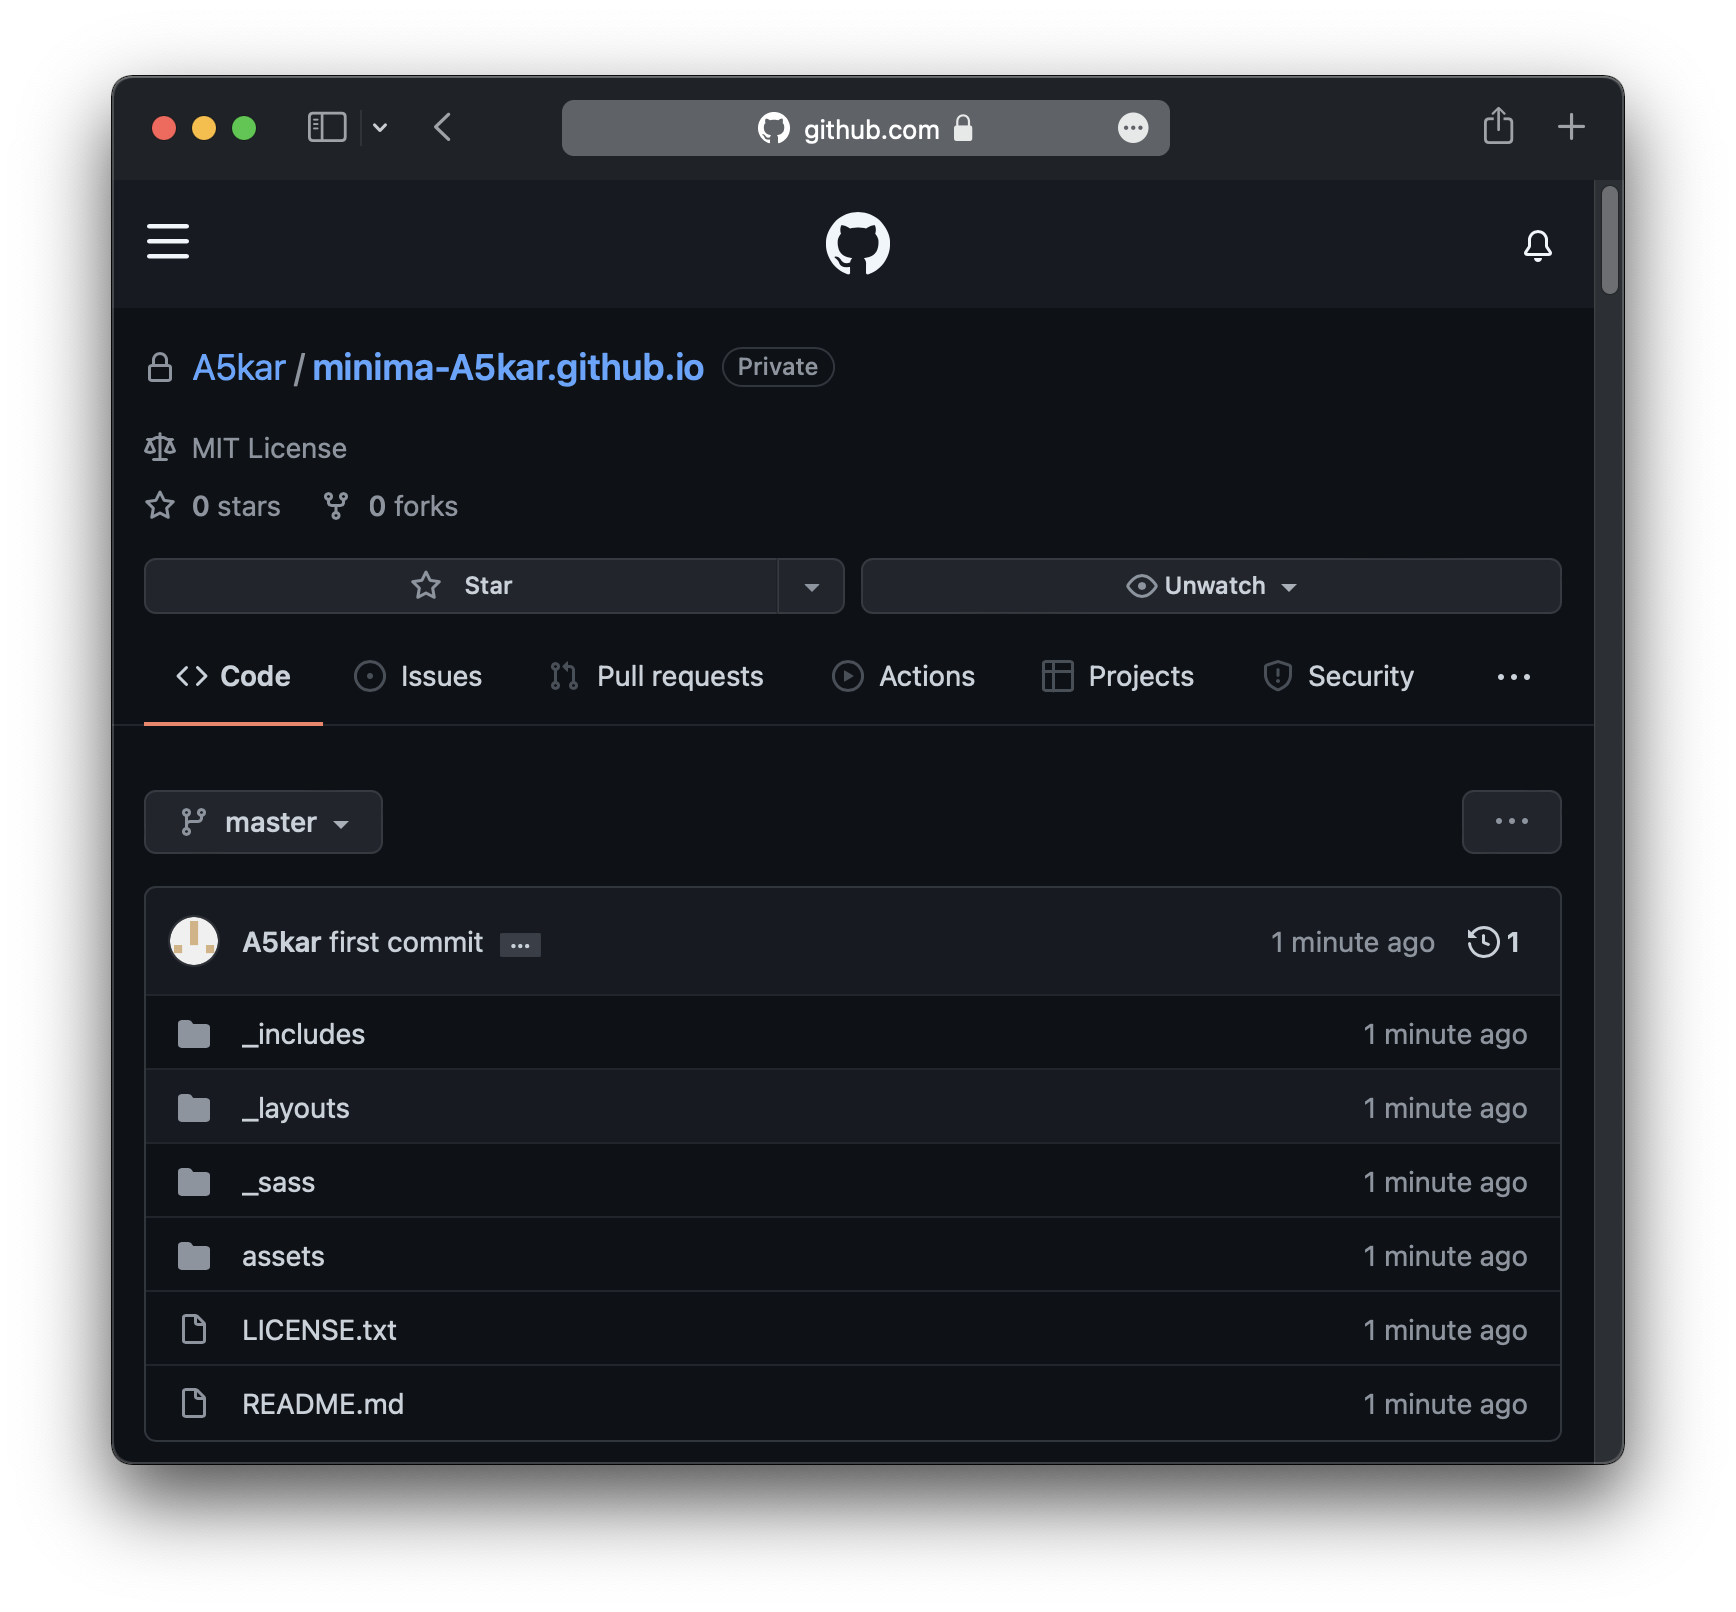
There are probably many elegant ways to create a clone of minima default theme shipped by Jekyll; and I am confident I did not adopt any of those.
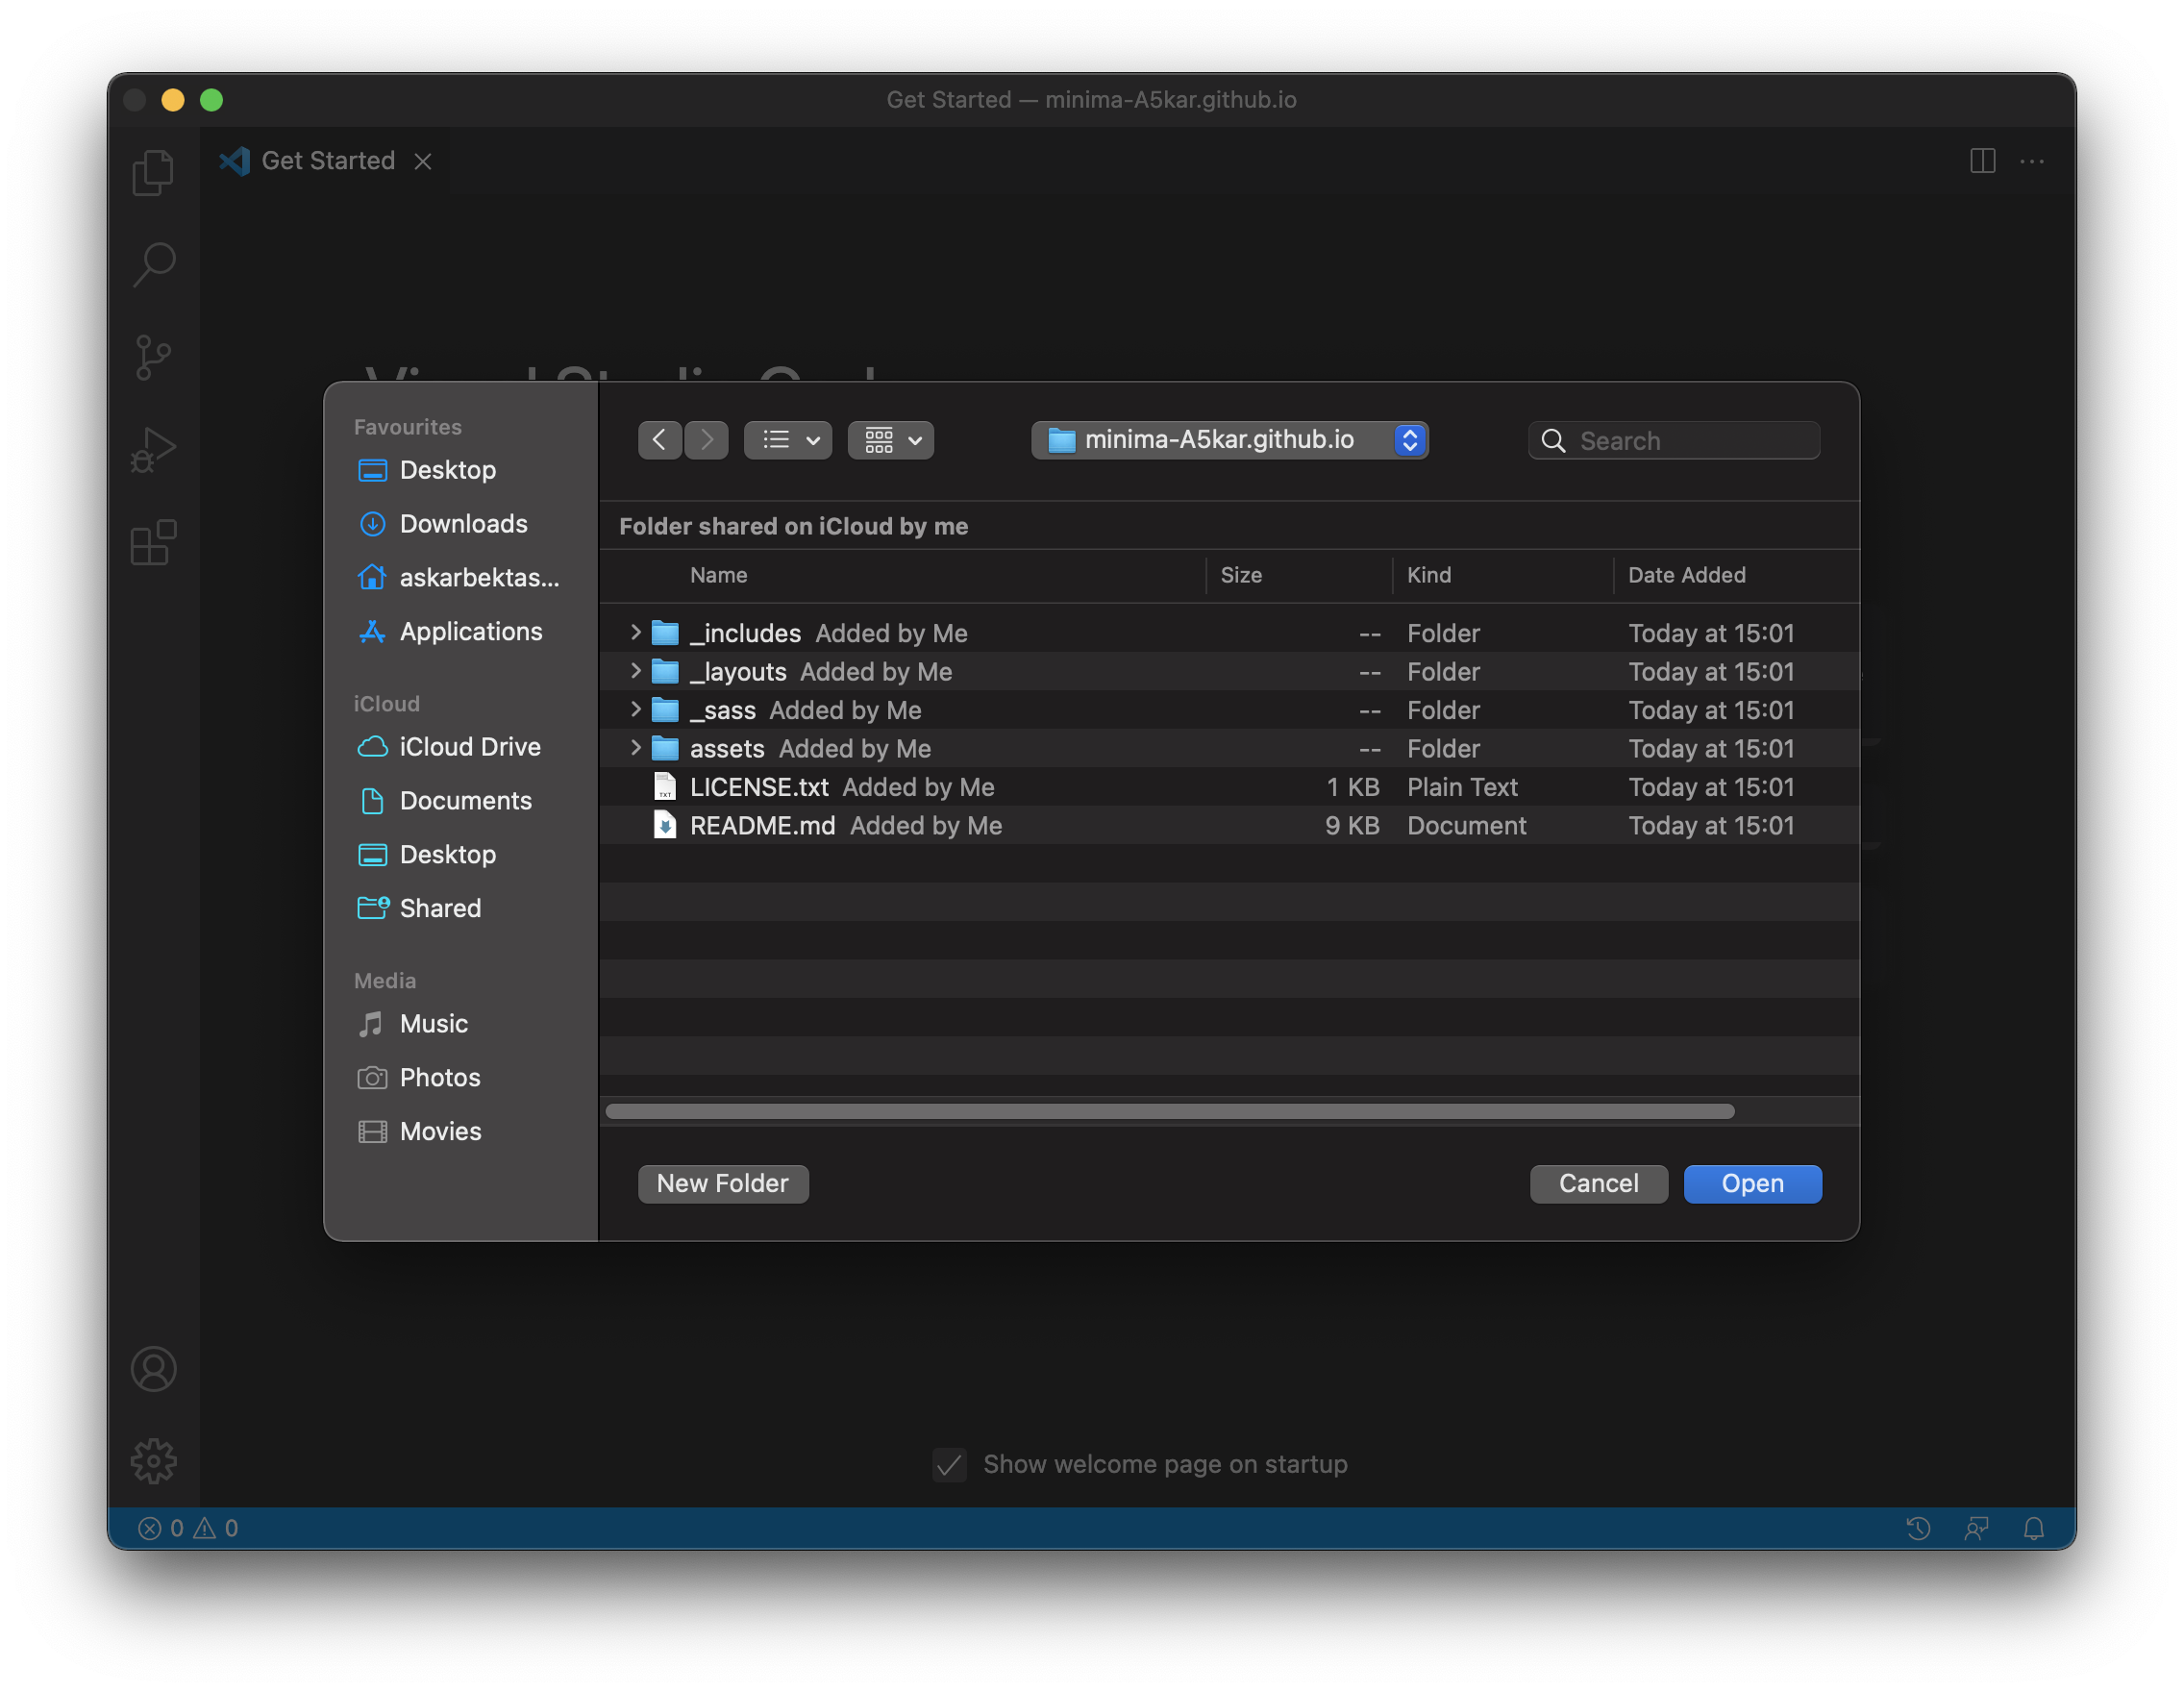
Remember vendor folder I did not want to commit to the blog’s repository? So the first thing I did was creating a copy of the folder containing minima gem into a separate location. If you are using VSC, press control + ` and switch to the terminal. Copy the minima folder to a separate location (e.g. ../):
askarbektassov@Askars-MacBook-Pro A5kar.github.io % pwd
/Users/askarbektassov/Documents/Books/SDS/github/A5kar.github.io
askarbektassov@Askars-MacBook-Pro A5kar.github.io % cp -r vendor/bundle/ruby/2.6.0/gems/minima-2.5.1 ../minima-A5kar.github.io
askarbektassov@Askars-MacBook-Pro A5kar.github.io %
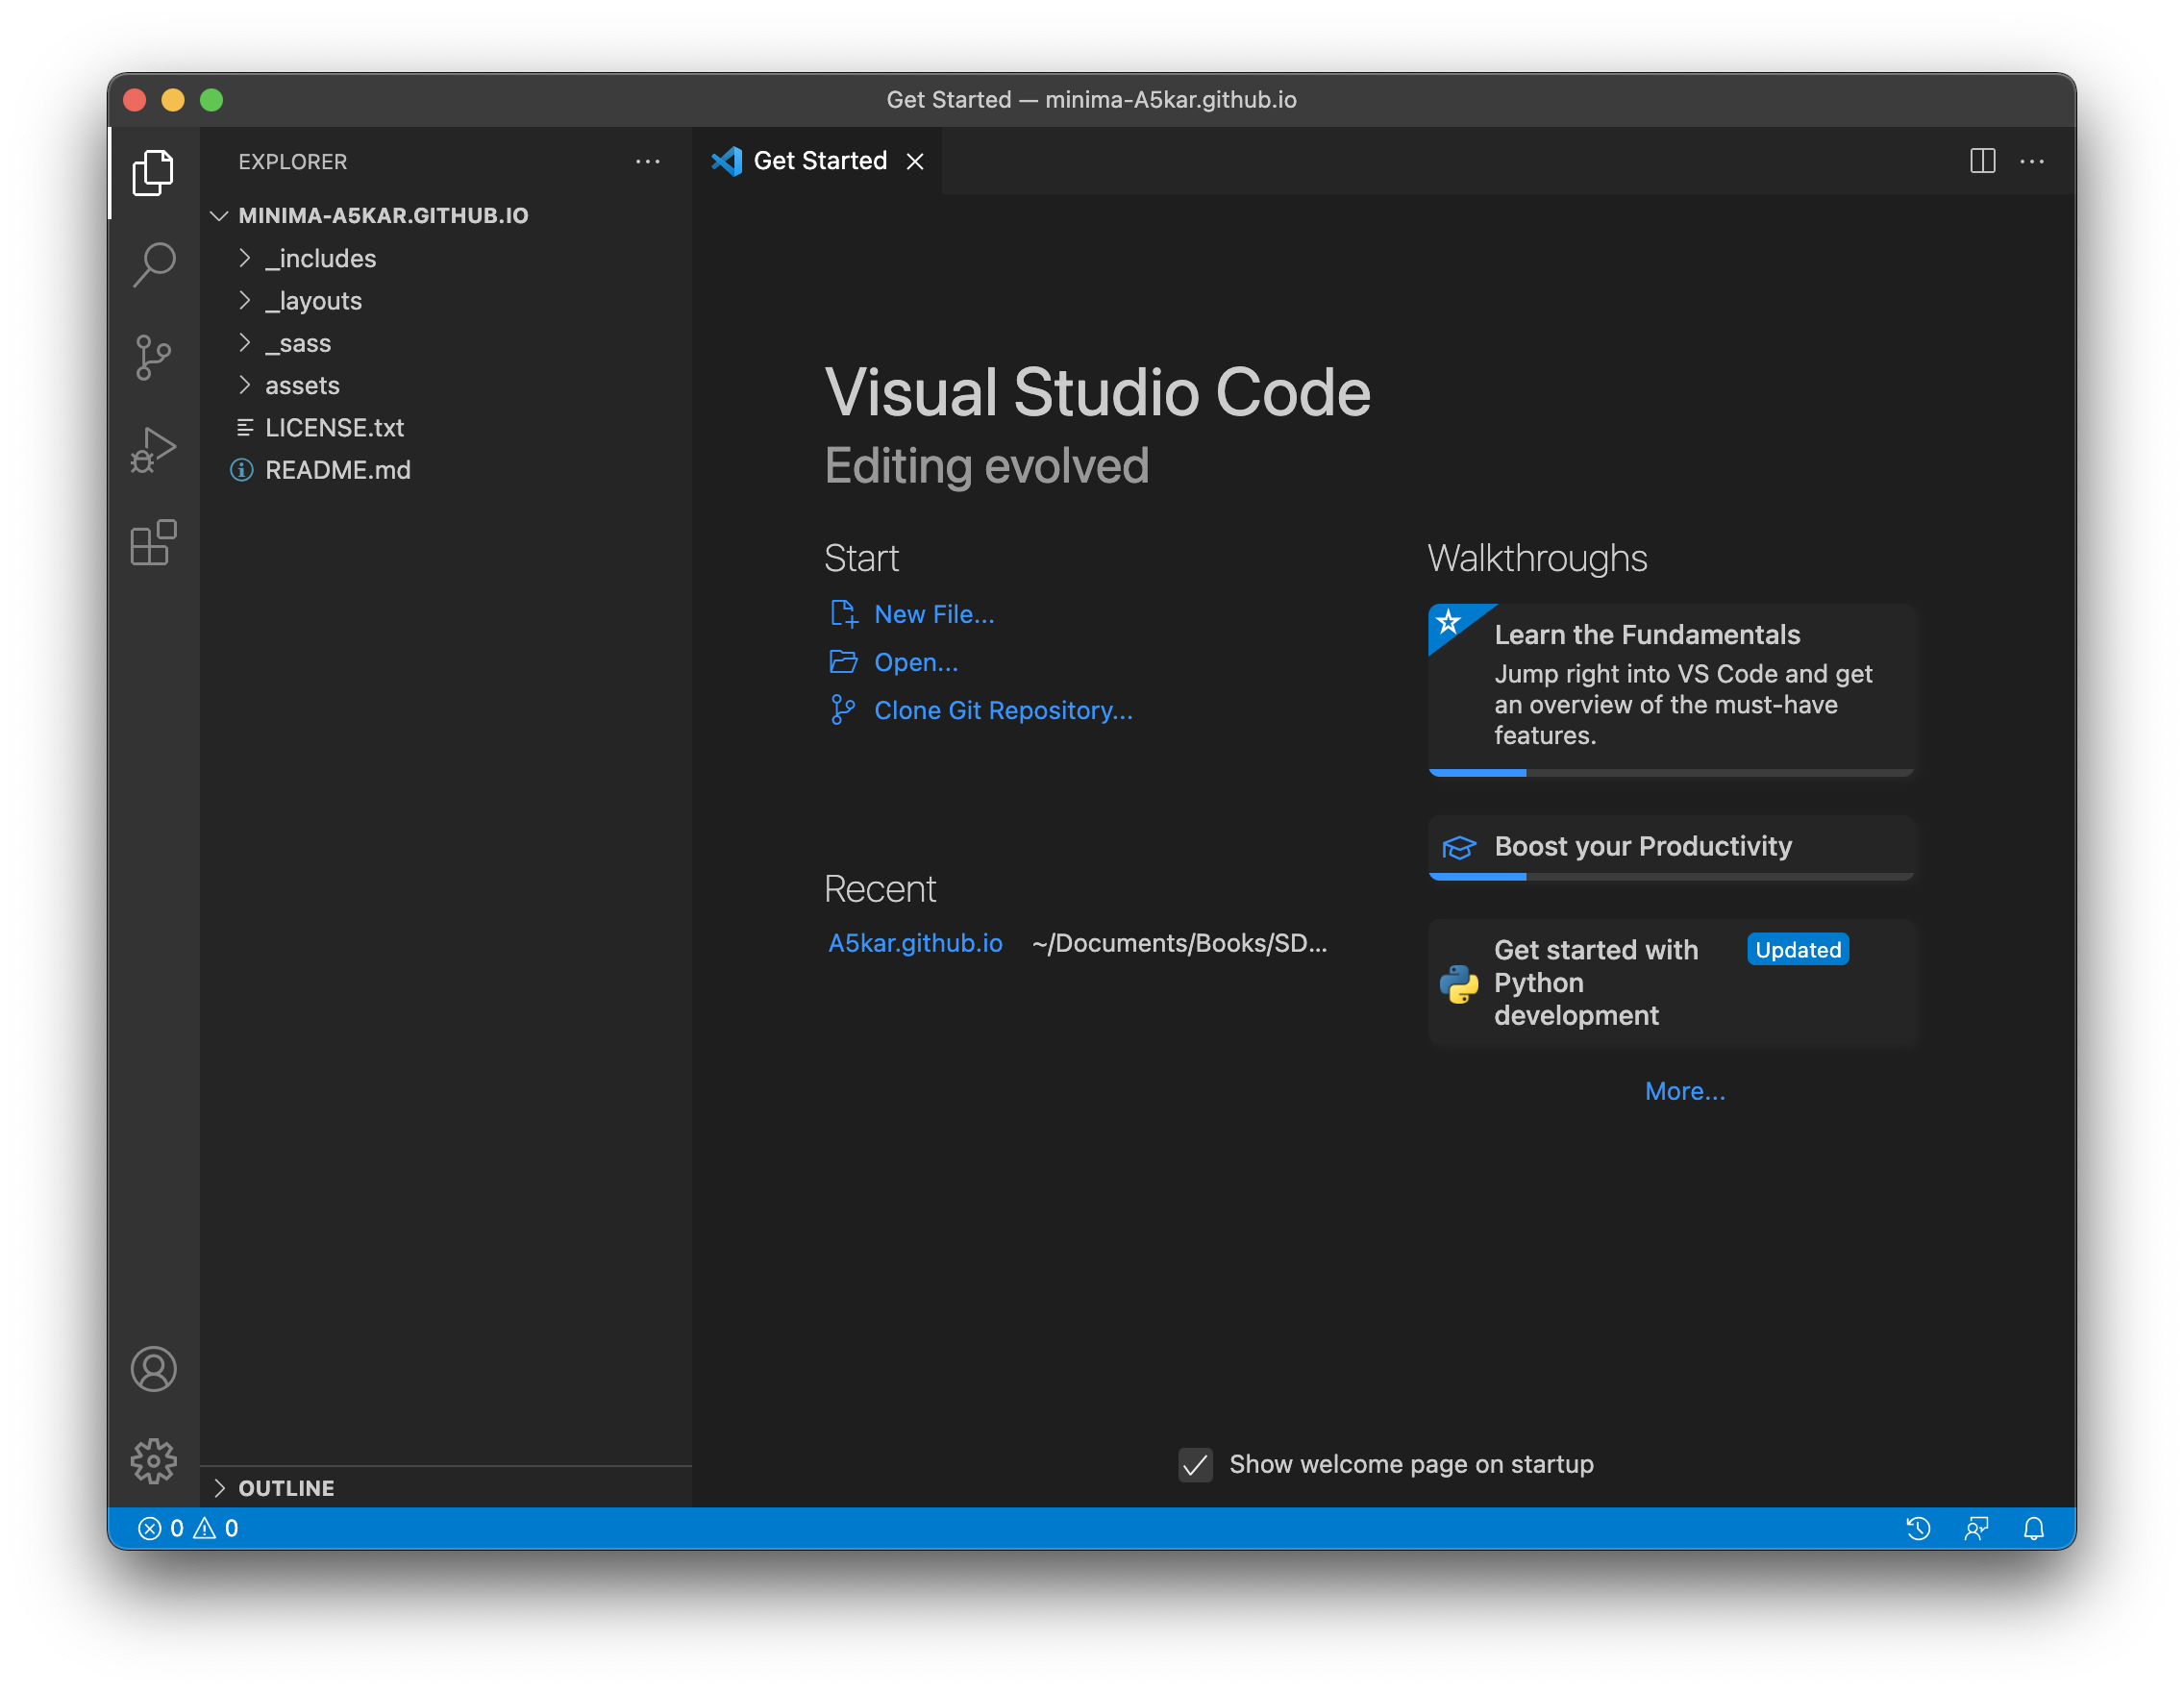
Open a new instance of VSC and open the folder you just copied. This folder will be referred to as theme project folder
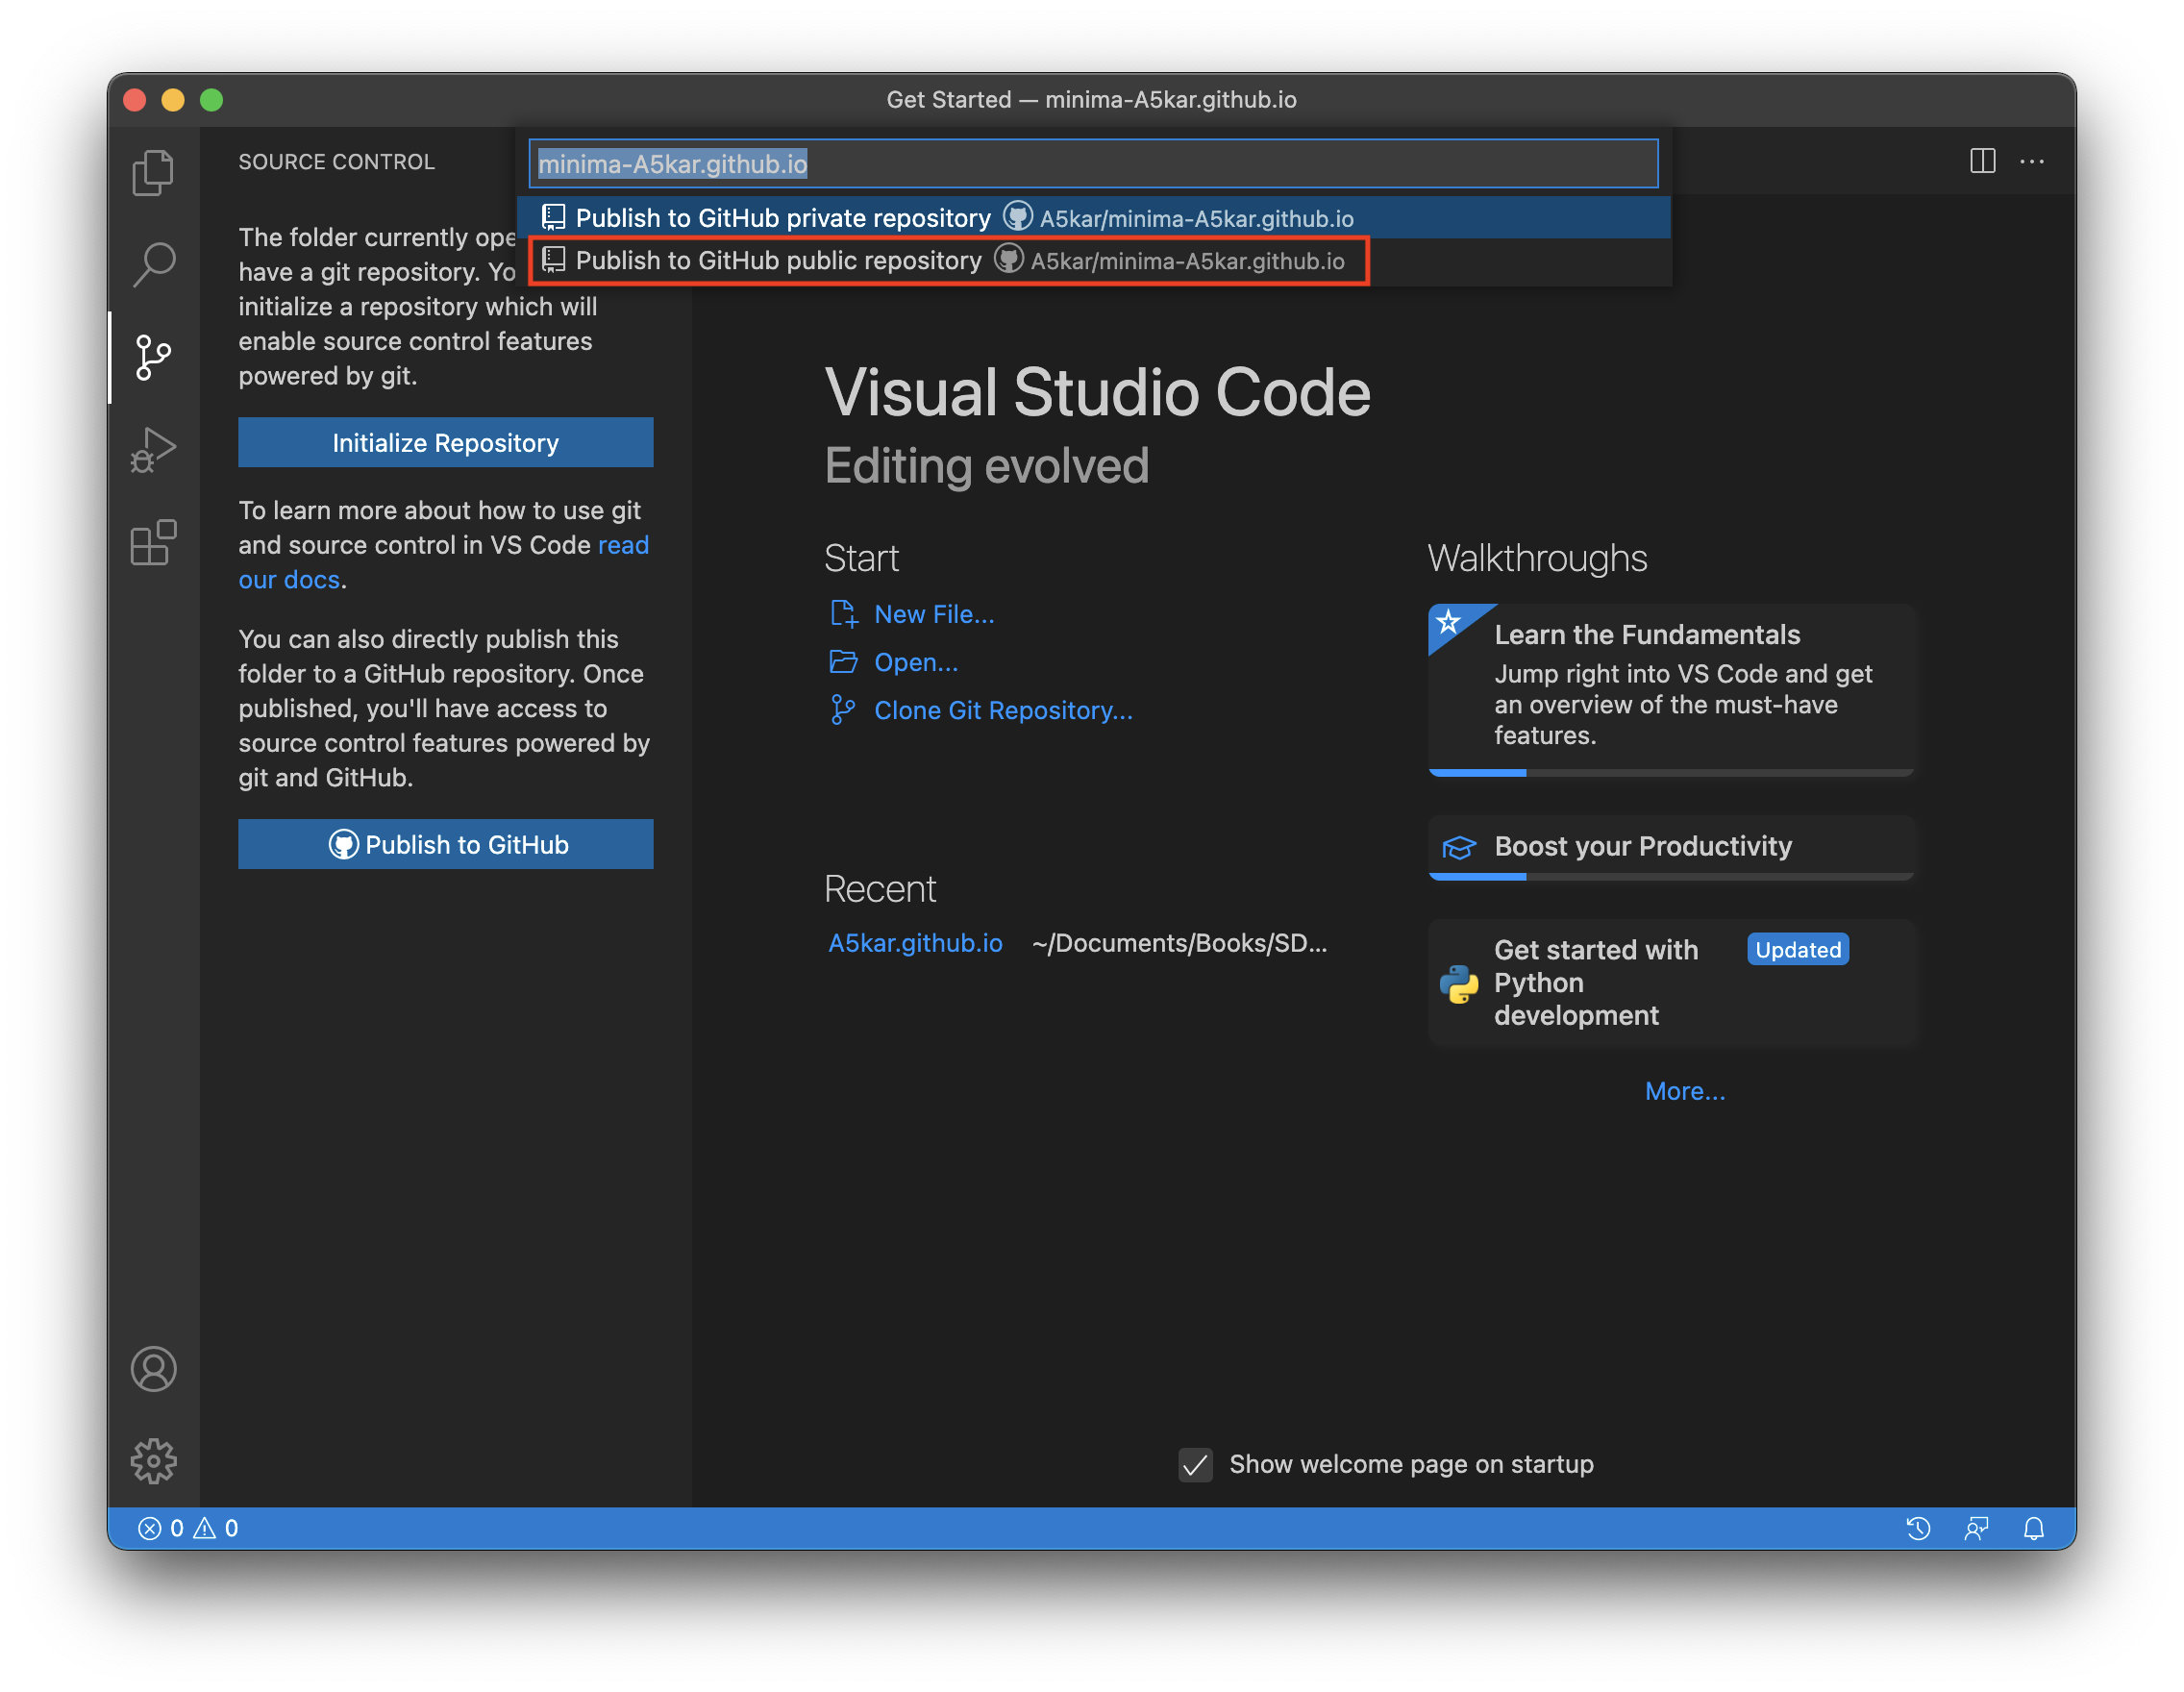
Take note of the files that are present in the directory, and press control + shift + G to switch to Source Control.
Click Publish to GitHub and VSC will ask you to publish it as either a private or a public repository. You will need to make it public, otherwise Jekyll instances will not be able accessing it to build your website. Should you forget to make your repository public (you can change this setting even later, directly in GitHub), your Jekyll will complain and stop.
jekyll 3.9.0 | Error: 404 - Not Found - Loading URL: https://codeload.github.com/a5kar/minima-a5kar.github.io/zip/HEAD
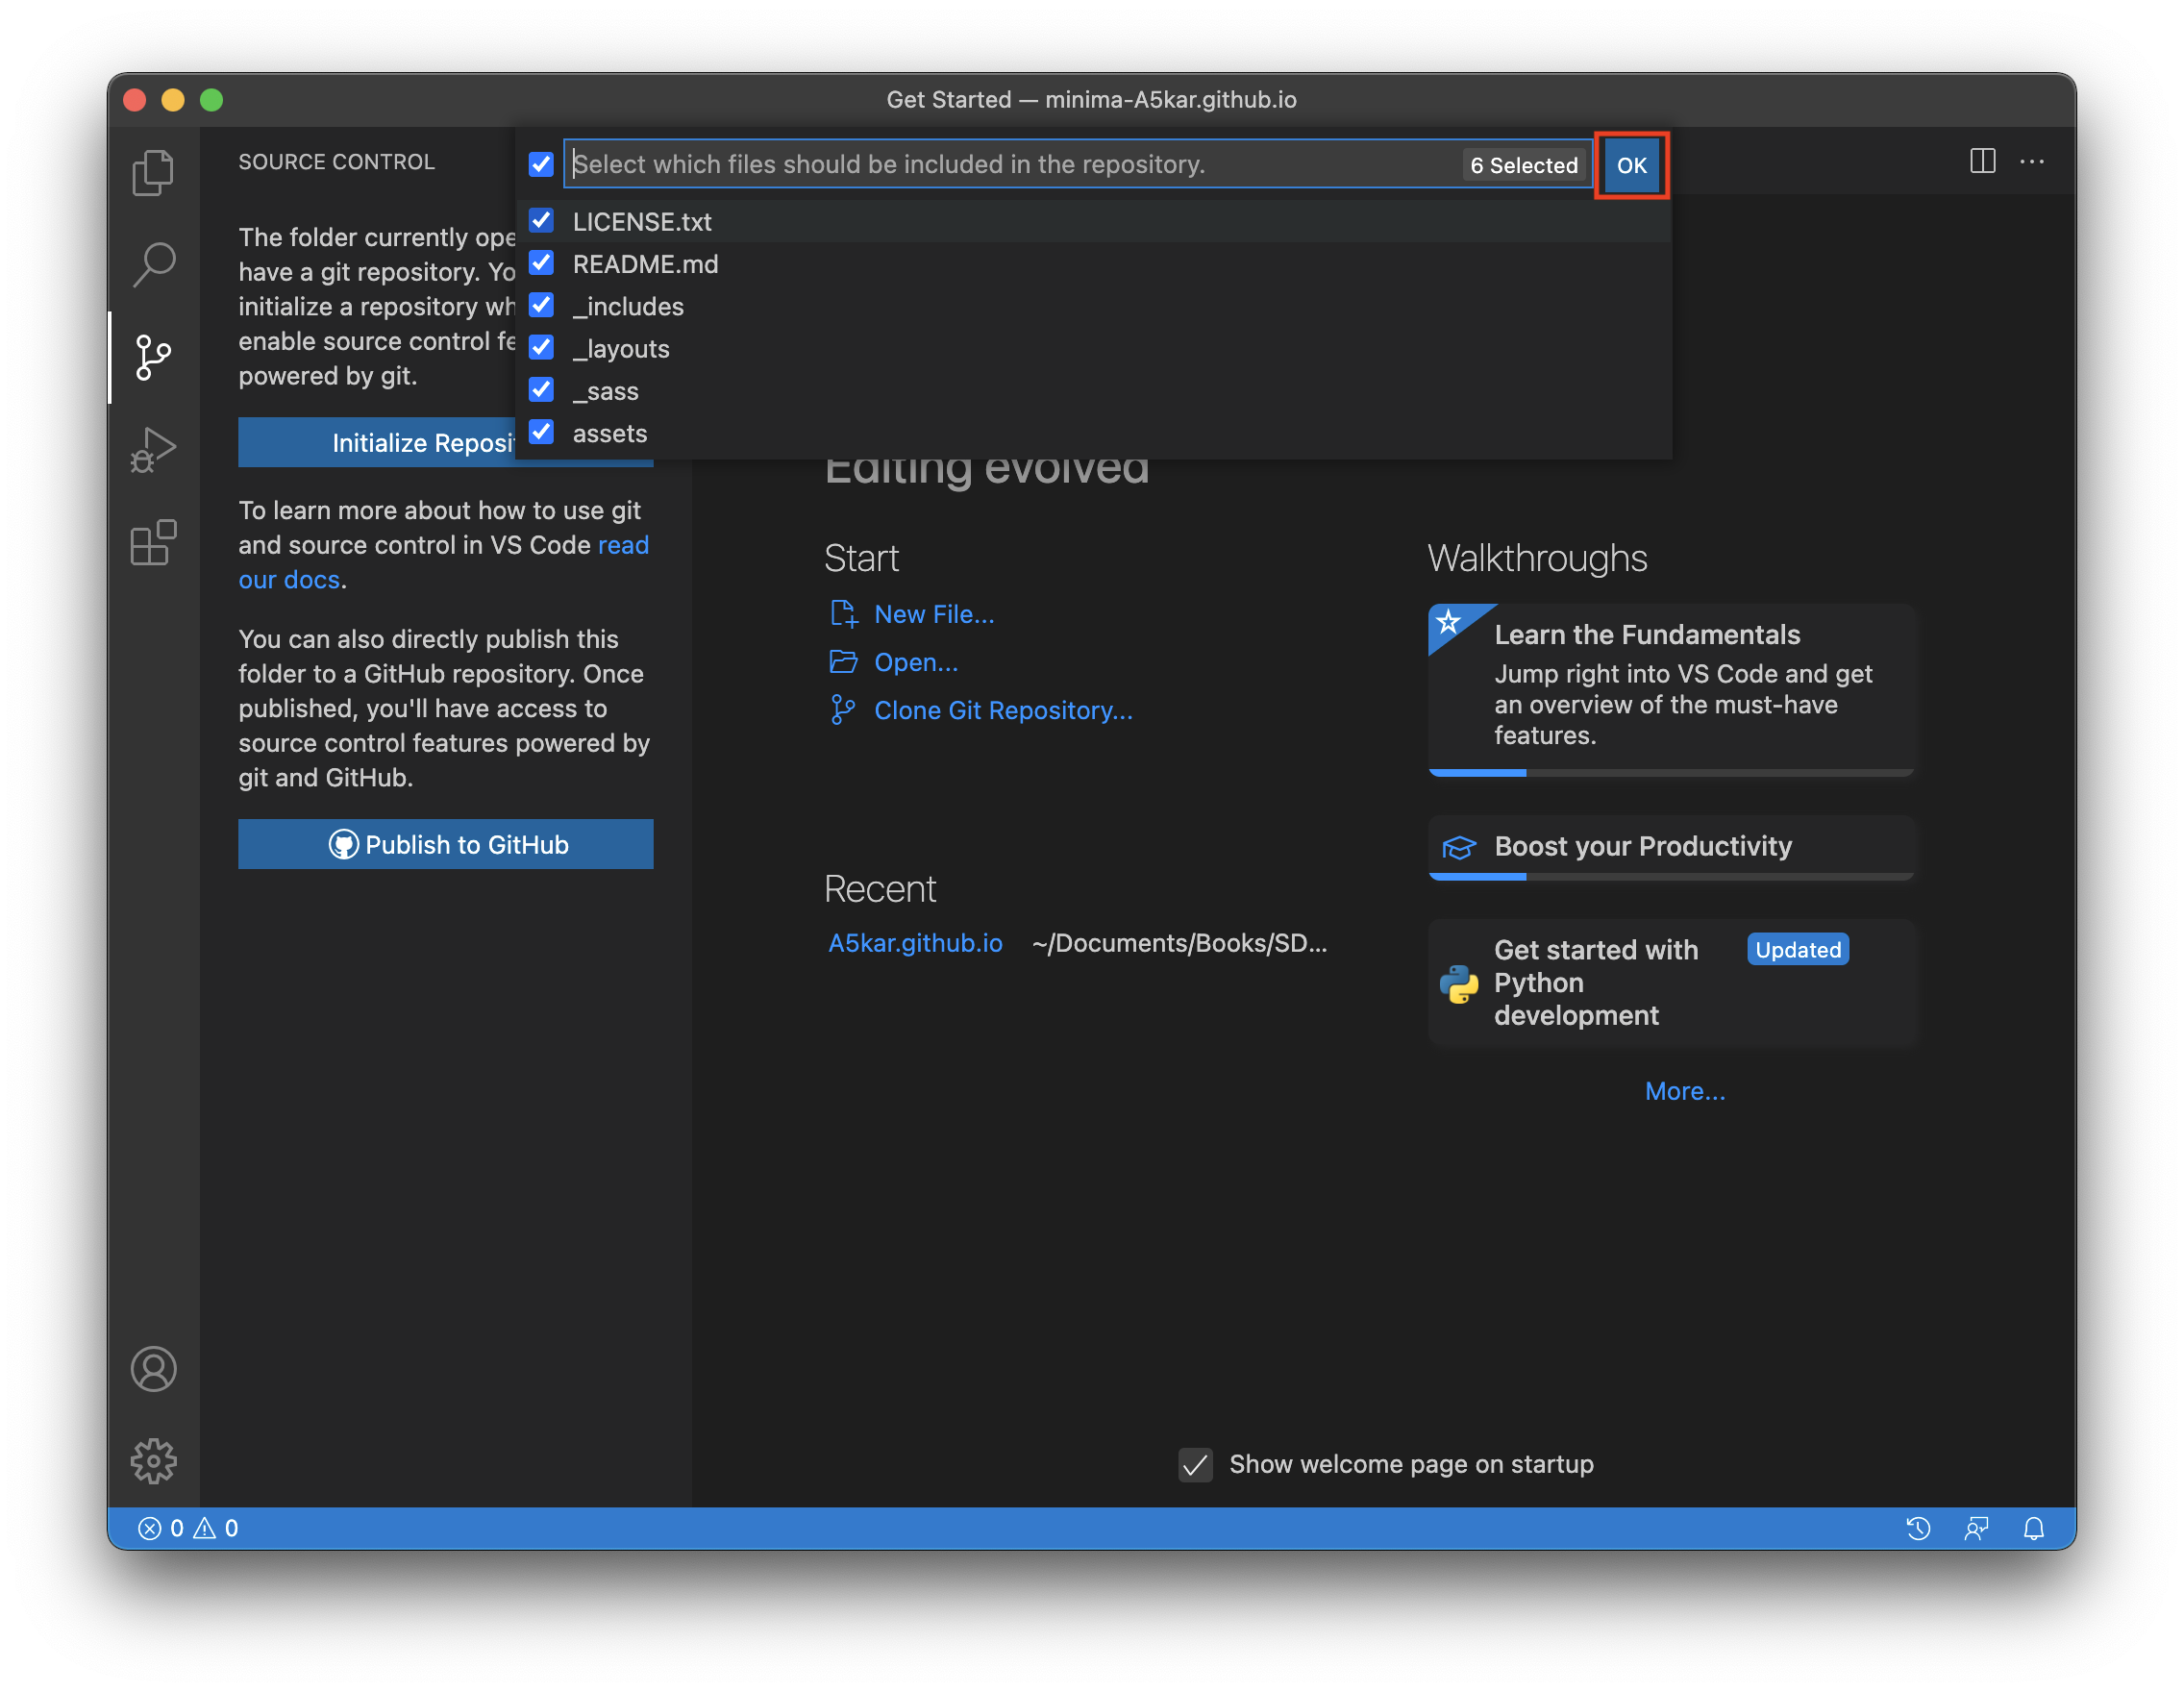
Review the files that are being uploaded and hit OK.
At this point you can open your favorite browser and observe your neat repository.
Now, before we move on to the next session. Go back to blog project folder, open Jekyll configuration file (_config.yml), and replace theme with the remote_theme. From now on, when building your website, Jekyll will be using the one uploaded in your repository and will apply all your favorite customizations.
# theme: minima
remote_theme: "A5kar/minima-A5kar.github.io"
Add comments section by default to all posts
To add comments section create, open the theme project folder and create a new file _includes\utterances_comments.html with the same script we were adding earlier by hand.
<script
  async
  src="https://utteranc.es/client.js"
  repo="A5kar/A5kar.github.io"
  issue-term="title"
  theme="github-light"
  crossorigin="anonymous">
</script>
At the same time, to make automatic additions to each post, you need to modify _layouts\post.html by adding the following lines at the end.
{%- if page.comments != false -%}
  {%- include utterances_comments.html -%}
{%- endif -%}
Return to blog project folder, open _config.yml and create the following default variables to each post (credits go to Jekyll and Minimal Mistakes.
defaults:
  -
    scope:
      path: ""
      type: posts
    values:
      comments: true
The actions performed above will ensure that every post will have the variable post.comments set to true, which in turn will ensure that it gets a comments section. If, on the other hand, I override the default value by adding comments: false to the front matter, then the relevant post will not get the comments section.
Add MathJax support
Analogously to the comments section, we can add JS snippet enabling \(\LaTeX\) rendering. Go to theme project folder, open _includes/head.html and add the following lines before </head> tag.
  {%- if page.mathjax -%}
    <script
      src="https://polyfill.io/v3/polyfill.min.js?features=es6">
    </script>
    <script
      id="MathJax-script"
      async
      src="https://cdn.jsdelivr.net/npm/mathjax@3/es5/tex-mml-chtml.js">
    </script>
  {%- endif -%}
</head>
Move to blog project folder and include an additional variable mathjax in the already created front matter defaults in _config.yml. This will enable MathJax on every post by default (which means it will not be included in other layouts, like page or home).
defaults:
  -
    scope:
      path: ""
      type: posts
    values:
      comments: true
      mathjax: true # this will activate MathJax support (unless overwritten)
This will ensure that every HTML page generated by Jekyll will include a header with the above script, which in turn will render formulas by relying on MathJax.
Show posts updates
Since we are here, I thought we could also add support to show the date when the post was updated, in addition to the date of creation. As usual, let’s start from theme project folder. Open _layouts/post.html and add the following snippet (credits to Ryan Baumann) right after the <header> tag.
<header class="post-header">
  <!-- add code below -->
  <script type="text/javascript">
    function setModifiedDate() {
      if (document.getElementById('last-modified')) {
        fetch("https://api.github.com/repos/{{ site.github.owner_name }}/{{ site.github.repository_name }}/commits?path={{ page.path }}")
          .then((response) => {
            return response.json();
          })
          .then((commits) => {
            var modified = commits[0]['commit']['committer']['date'].slice(0,10);
            if(modified != "{{ page.date | date: date_format }}") {
              document.getElementById('last-modified').textContent = "(last update " + modified + ")";
            }
          });
      }
    }
  </script>
  <!-- end of code -->
Above piece of code defines a JavaScript setModifiedDate() function that relies on GitHub API to request GitHub a list of all commits with respect to the current file. The above function will select the most recent and store it in last-modified span element. Without changing file, scroll towards the end of the <header> block and find below code. Here, last-modified will be used to print the date of the last update.
  <time class="dt-published" datetime="{{ page.date | date_to_xmlschema }}" itemprop="datePublished">
    {%- assign date_format = site.minima.date_format | default: "%b %-d, %Y" -%}
     <!-- replace code below -->
     <!-- {{ page.date | date: date_format }} -->
     {{ page.date | date: date_format }} <span id='last-modified'/>
     <!-- end of code -->
  </time>
Finally, open _layouts/default.html, and replace the <body> tag as follows, to call setModifiedDate() upon each loading of the page. This means that calls to GitHub server asking for the last commit will be performed every time the page will be loaded.
  <!-- replace code below -->
  <!-- <body> -->
  <body onload="setModifiedDate();">
  <!-- end of code -->
That’s all folks, this time we do not need to do anything in blog project folder, because all necessary JavaScript code will be injected into your HTML pages thanks to the customized theme.
Final remarks
Well, the above was a quick and dirty solution to add some customizations. Along the journey, other customizations may be added… but at least now I know how. If you have any comments or suggestions, feel free to share your thoughts in the comments section below!